Crochet the Cutest Low-Sew Plush Kitten (Free Amigurumi Pattern!)
“`html
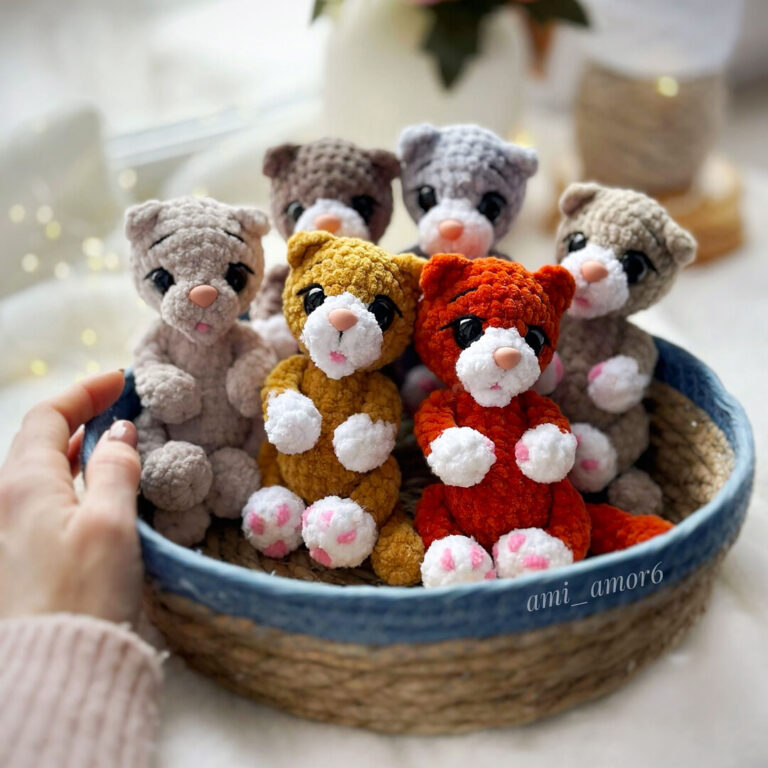
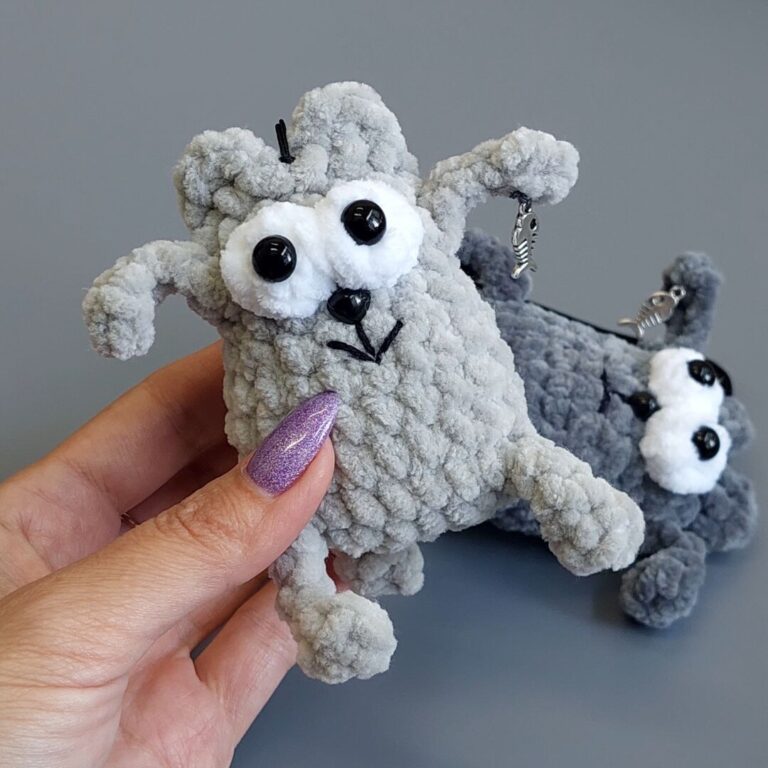
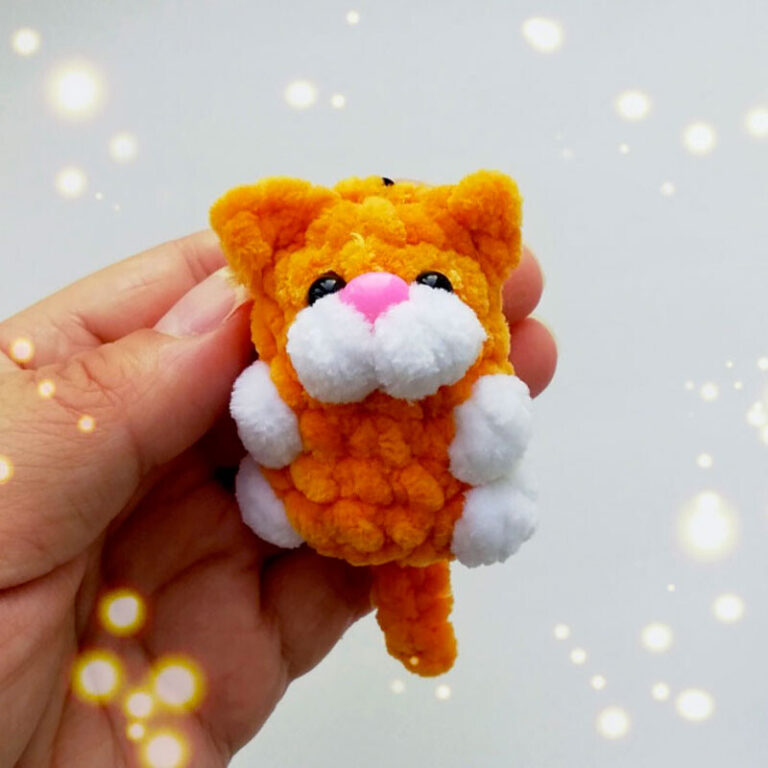
Adorable Plush Fold-Eared Kitten: Free Crochet Amigurumi Pattern
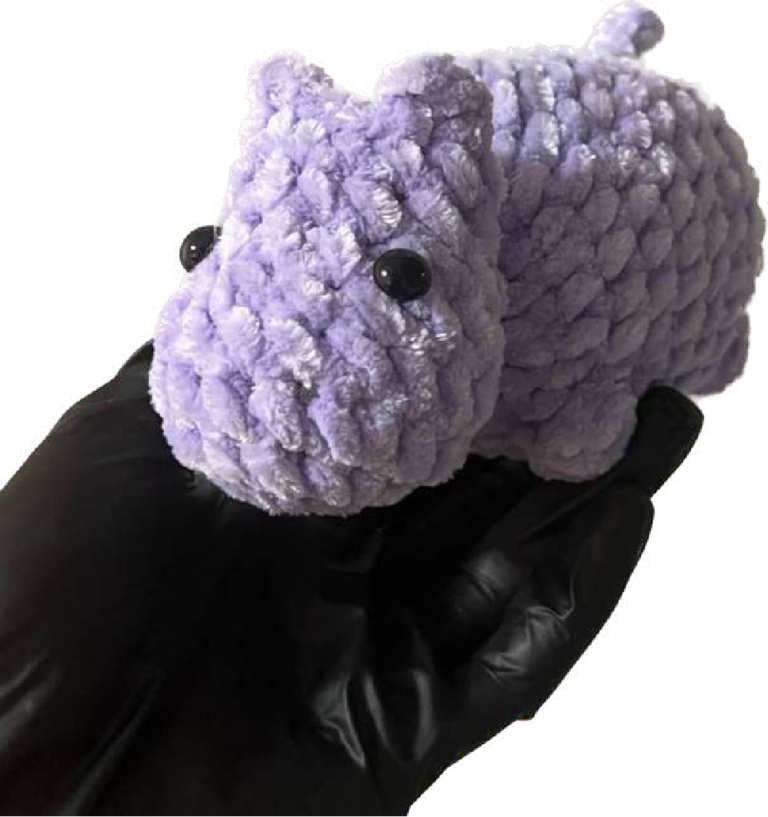
Looking for your next quick and cuddly crochet project? This plush fold-eared kitten is the perfect choice! Using chunky velvet yarn, this amigurumi kitten comes together quickly and makes for an incredibly soft gift or desk companion. This pattern is designed for those who love “no-sew” or “low-sew” projects, as the legs, tail, and ears are worked directly into the body.
Materials You Will Need
- Yarn: Super Bulky Plush/Chenille Yarn (e.g., Wolans Bunny Baby, Himalaya Dolphin Baby, or YarnArt Dolce). You will need approximately 25-30g.
- Hook size: 4.0 mm (G)
- Eyes: 12mm sparkling safety eyes
- Nose: 7x9mm plastic safety nose
- Filling: Fiberfill/Hollowfiber (approx. 10-20g)
- Tools: Stitch marker, scissors, and a long needle with strong thread for face sculpting.
Crochet Abbreviations (US Terms)
- MR: Magic Ring
- ch: Chain
- sl st: Slip stitch
- sc: Single crochet
- inc: Increase (2 sc in one stitch)
- dec: Decrease (sc 2 together)
- dc: Double crochet
- hdc: Half double crochet
- Bobble: 3 dc bobble stitch (3 dc into 1 stitch with a common base and closed together)
- FLO: Front Loops Only
Step-by-Step Kitten Pattern
Body and Legs
Round 1: 6 sc in MR (6)
Round 2: 6 inc (12)
Round 3: (1 sc, inc) * 6 (18)
In the next round, we will form the lower legs as we go.
Round 4: (2 sc, inc) * 2, 1 sc, Leg, 1 sc, inc, 2 sc, inc, Leg, (2 sc, inc) * 2 (24)
How to make the Leg: ch 5, starting from 2nd ch from hook: Bobble stitch, 3 sc back down the chain, sl st into the base sc of the body.
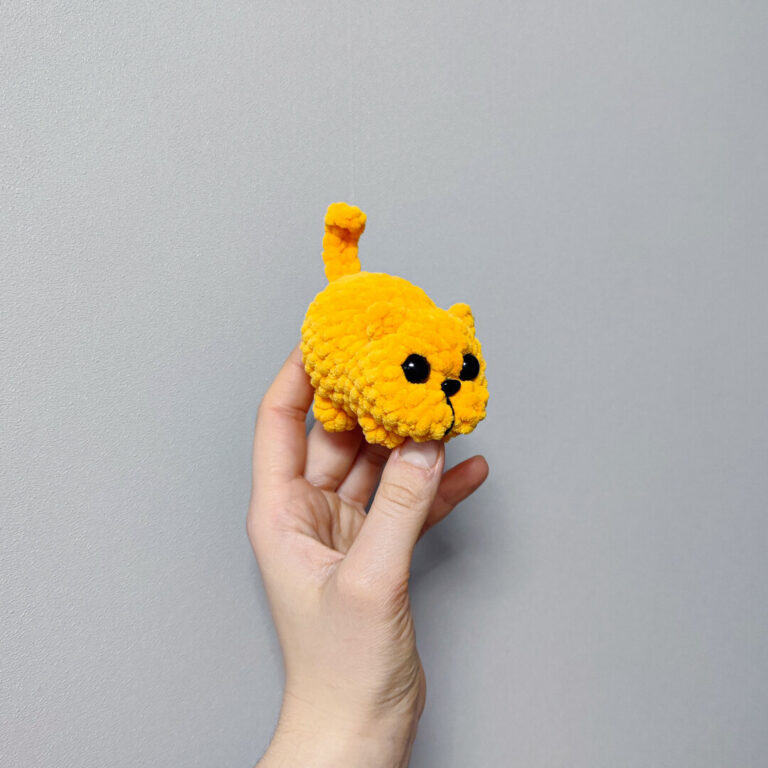
Round 5: 1 sc, Tail, 8 sc, (behind the leg) 1 sc, 4 inc, 2 sc, (behind the leg) 8 sc (28)
How to make the Tail: ch 5, starting from 2nd ch from hook: 4 sl st, sl st into the base sc of the body.
Round 6: 1 sc, (skip tail) 27 sc (28)
Round 7: 28 sc (28)
Round 8: 10 sc, 4 dec, 10 sc (24)
Round 9: (2 sc, dec) * 6 (18)
Round 10 – 11: 18 sc (18)
Round 12: (1 sc, dec) * 6 (12)
Upper Paws
Round 13: 4 sc, Paw, 5 sc, Paw, 3 sc (12)
How to make the Paw: ch 5, starting from 2nd ch from hook: 3 sc in 1 loop (at the tip), 3 sl st back down the chain, sl st into the base sc of the body.
Stuff the body firmly with fiberfill at this stage.
The Head
Round 14: 12 inc in FLO (24)
Round 15: 8 sc, inc, 2 sc, 2 inc, 2 sc, 2 inc, 2 sc, inc, 4 sc (30)
Round 16 – 17: 30 sc (30)
Round 18: 8 sc, dec, 2 sc, 5 dec, 2 sc, dec, 4 sc (23)
Round 19 – 20: 23 sc (23)
Insert safety eyes between Rows 18 and 19, leaving about 3 sc between them.
Round 21 (Ears Round): (2 sc, dec) * 2, 2 sc, Ear, dec, (2 sc, dec) * 2, Ear, 3 sc (18)
How to make the Ear: ch 2, starting from 2nd ch from hook: 1 hdc, then 1 sc into the base sc of the head.
Round 22: (1 sc, dec) * 6 (12)
Stuff the head firmly, paying special attention to the cheek area to give it a chubby look.
Round 23: 6 dec (6)
Fasten off and weave in the ends.
Finishing and Face Sculpting
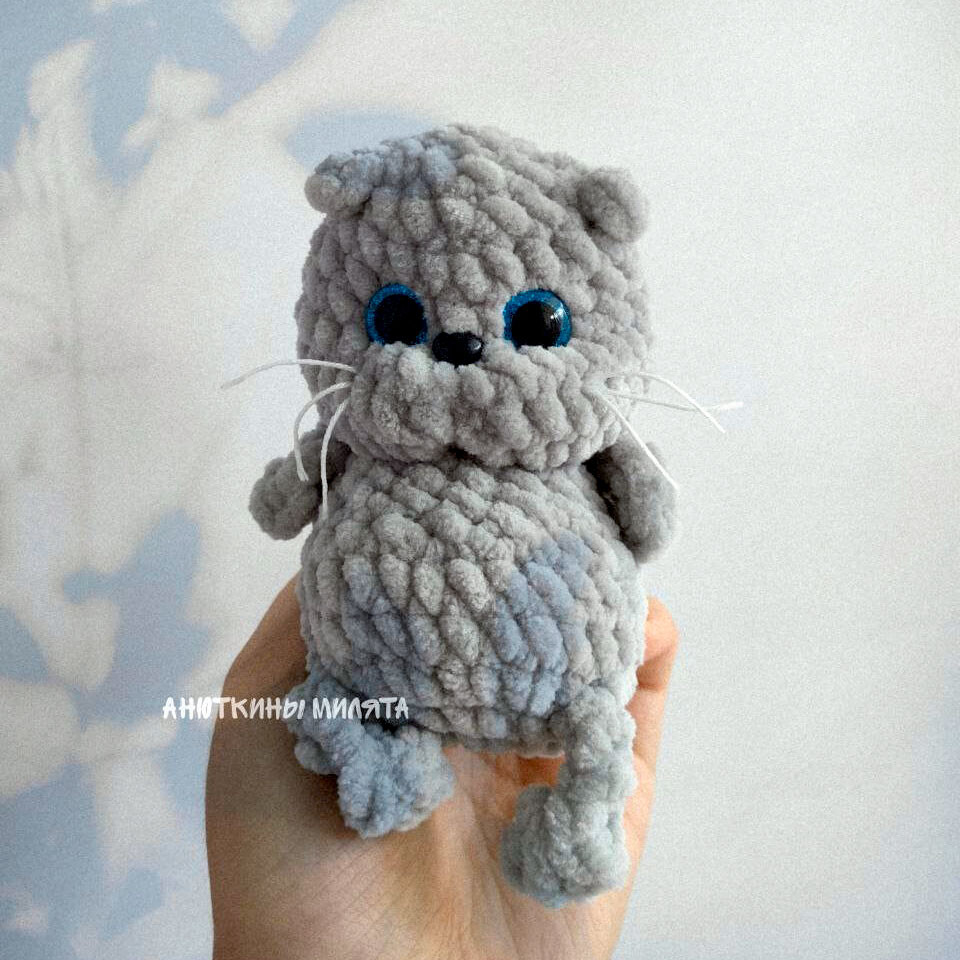
Face Shaping for a Cuter Look
To give the kitten its “fold-eared” character and expressive face, follow these sculpting steps using a strong thread in the same color as the yarn:
- Step 1: Bring the needle through the bottom of the head (near the neck) to the inner corner of the eye, across to the other eye, and back down. Pull slightly to indent the eye sockets.
- Step 2: Repeat the process to define the bridge of the nose.
- The Mouth/Cheeks: Sculpt a small vertical line from the bottom of the nose area down to create the muzzle “split.”
- The Ears: Because of the plush yarn, the ears might stick up. Use a single stitch to tack the tips of the ears down to the head, creating the signature “fold-ear” look.
Whiskers (Optional)
If you want to add whiskers, use a thinner cotton thread. Pass the thread through the muzzle, tie a small knot inside or at the exit point, and cut to your desired length. To keep them stiff, you can lightly coat them with a tiny amount of clear fabric glue or PVA glue.
Congratulations! Your plush fold-eared kitten is ready to be loved!
“`