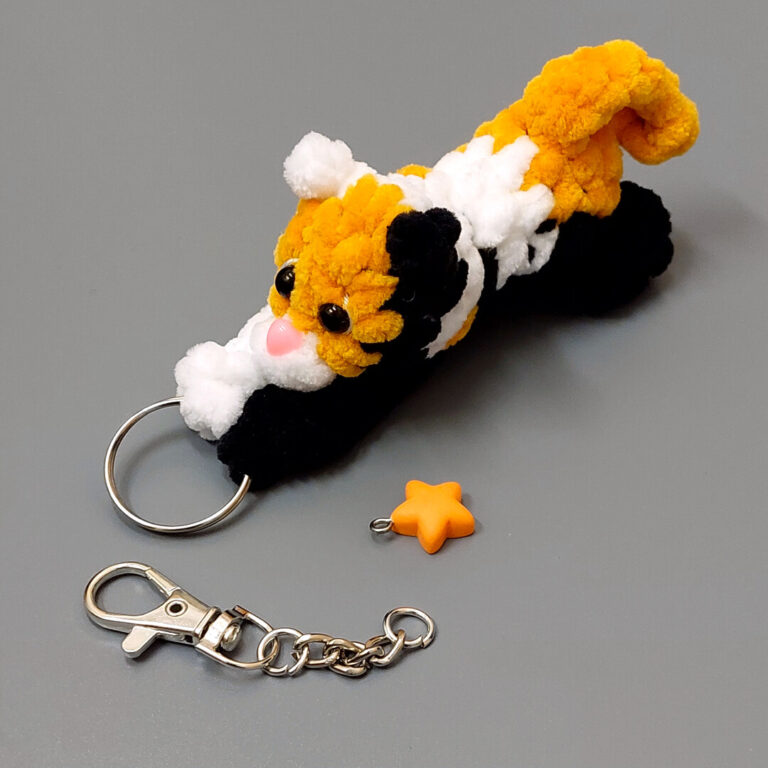
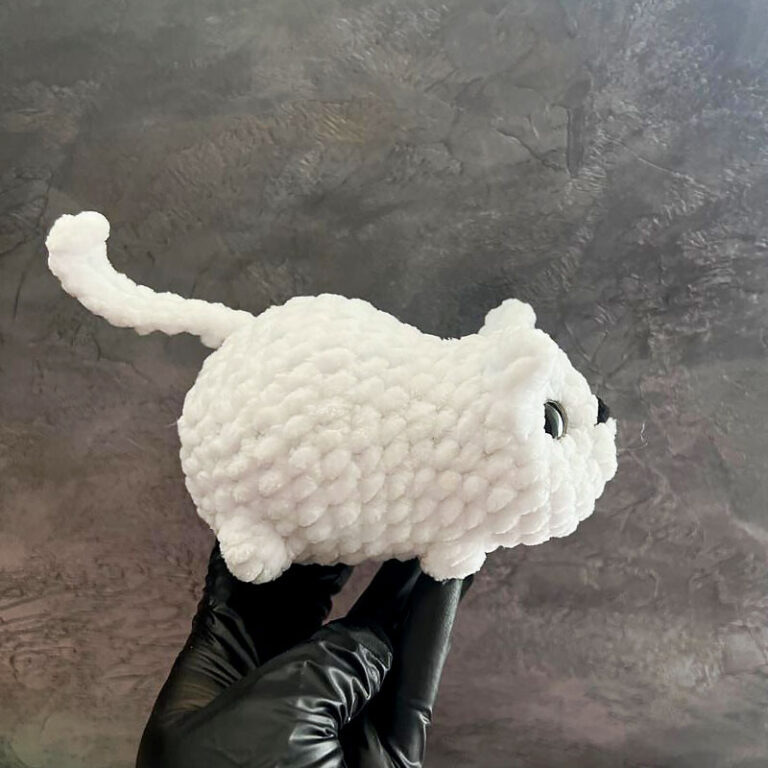
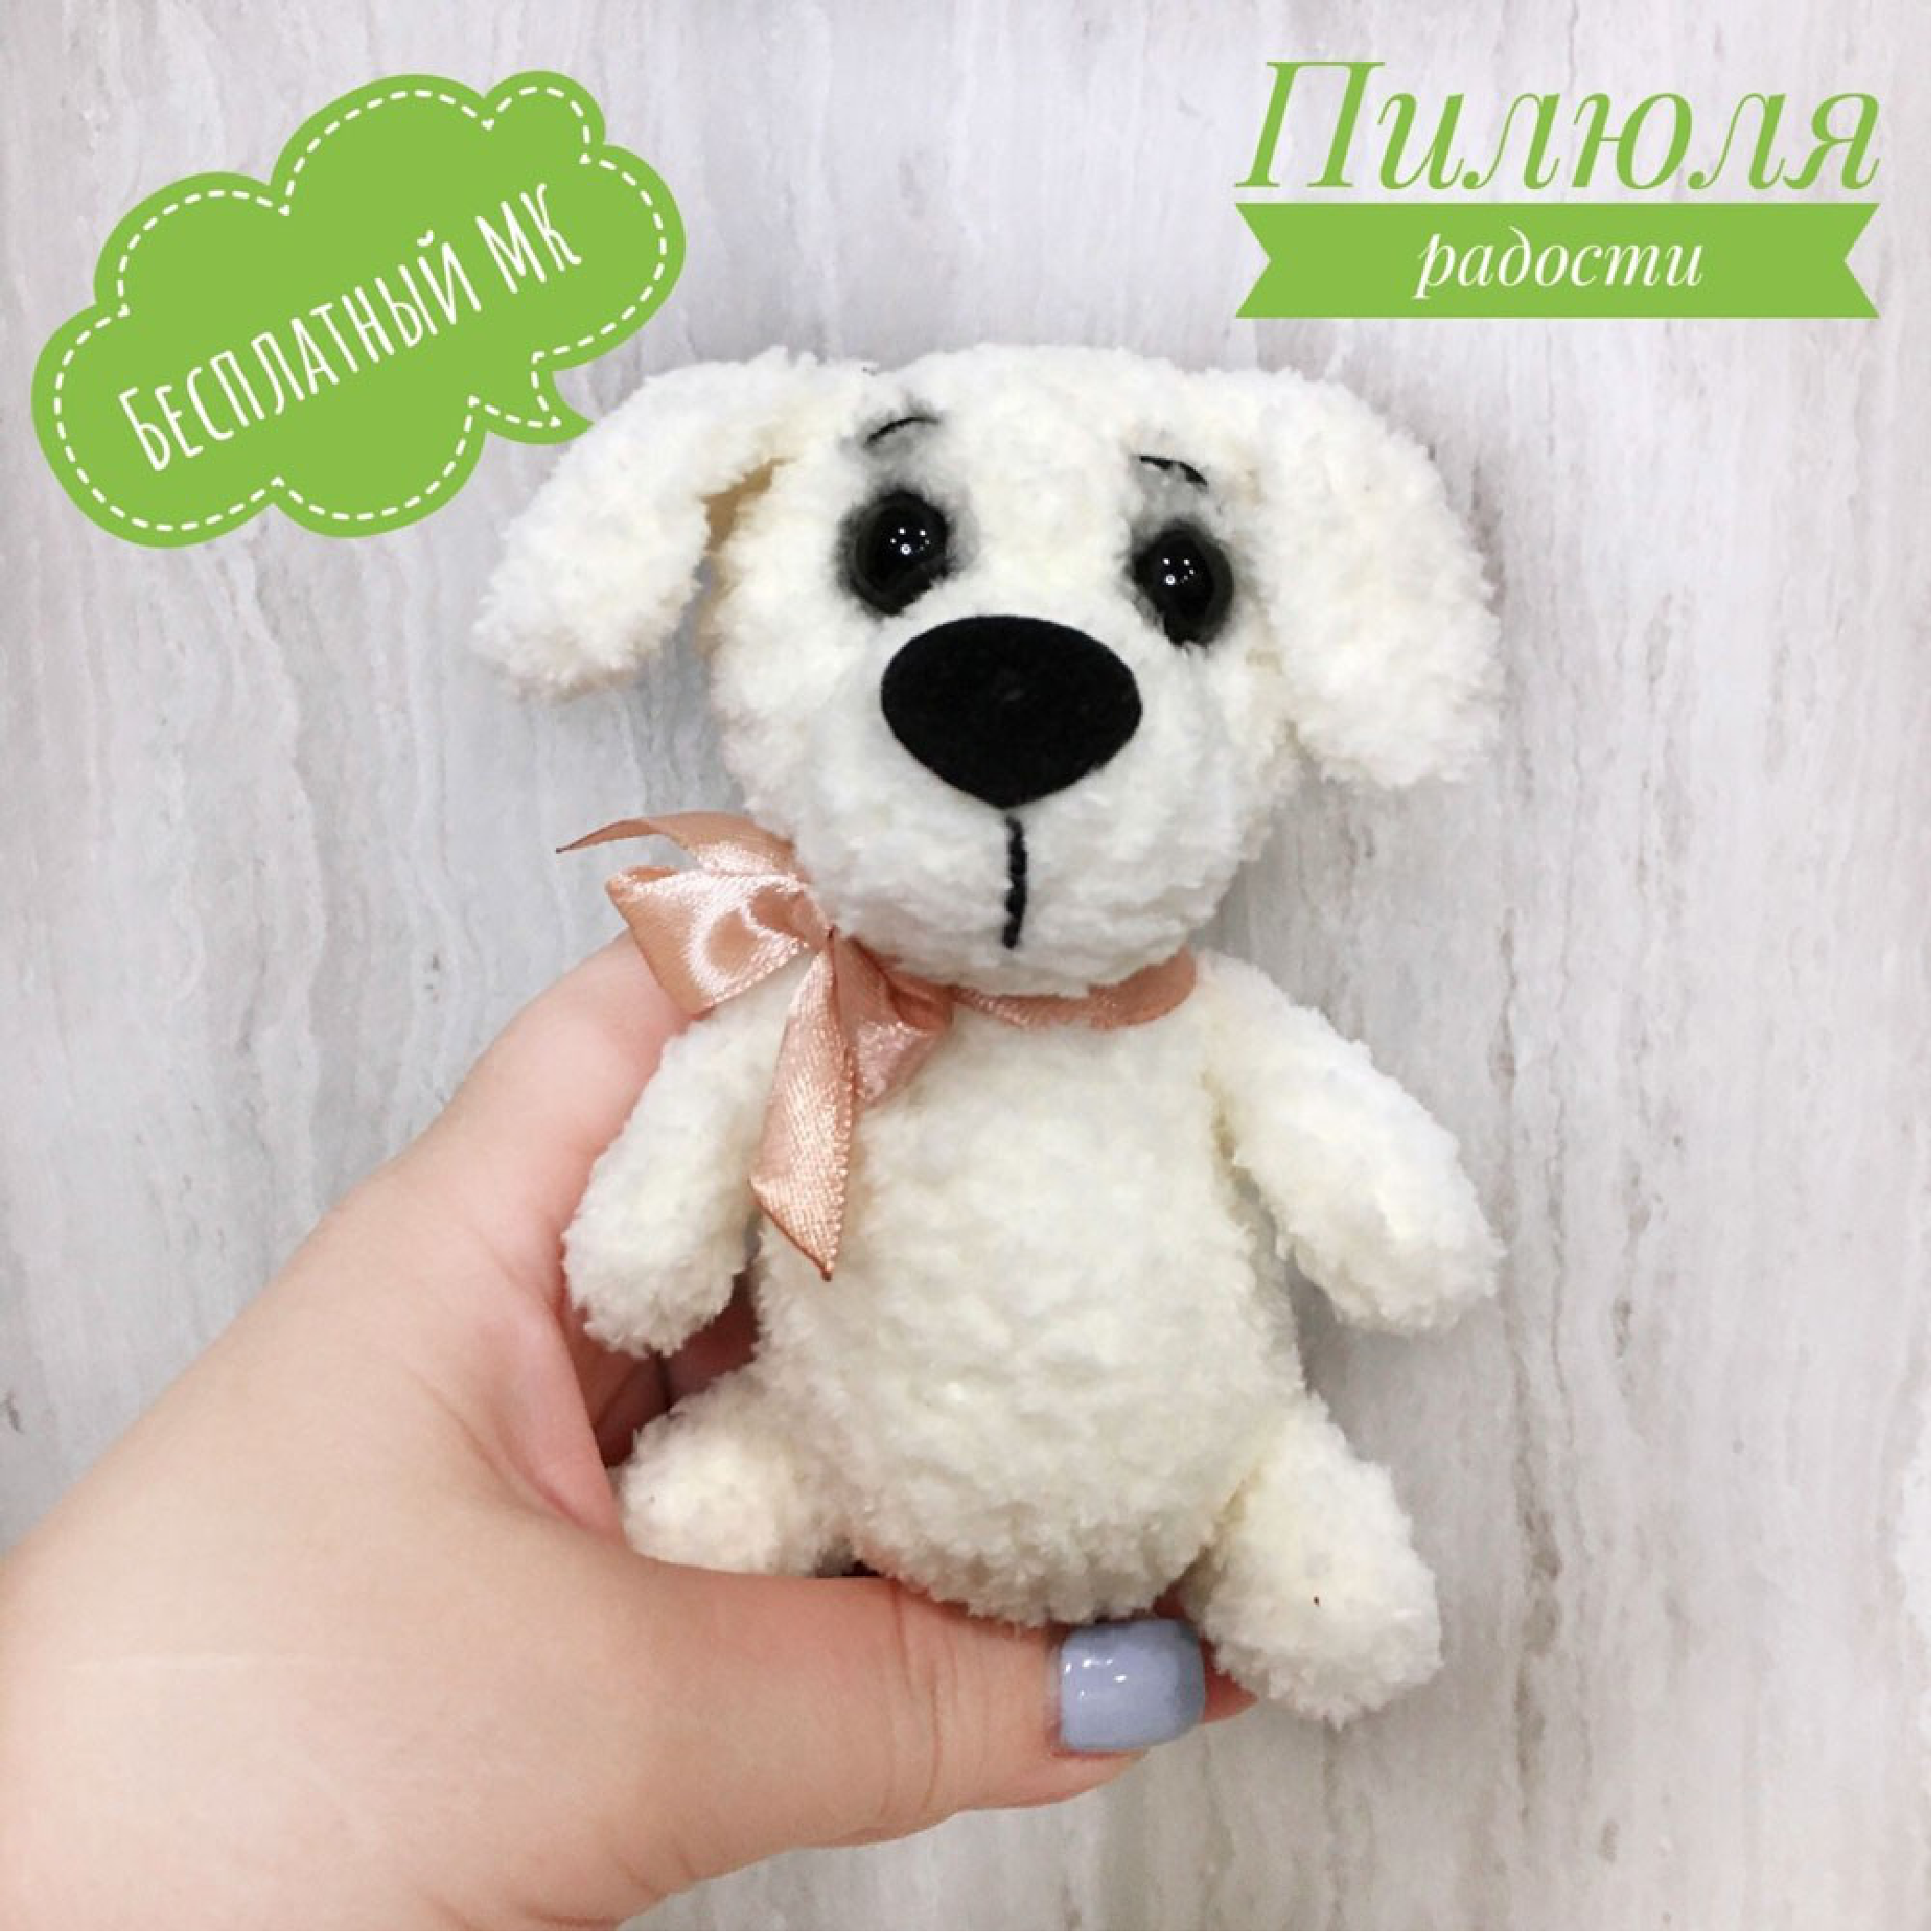
Adorable Plush Pearl Doggy Crochet Pattern
Materials
- Yarn: Alize “Softy” (or similar plush/chenille yarn), black embroidery floss for details.
- Hook: 1.5 mm
- Eyes: 10 mm semi-beads
- Nose: Velour nose (1.5 cm wide)
- Stuffing: Holofiber or poly-fill
- Tools: Sewing needle, scissors, fabric glue, and a regular pencil/brush for shading.
Abbreviations (US Terms)
- MR: Magic Ring
- sc: Single Crochet
- inc: Increase (2 sc in one stitch)
- dec: Decrease (sc 2 together)
- ch: Chain
- st: Stitch
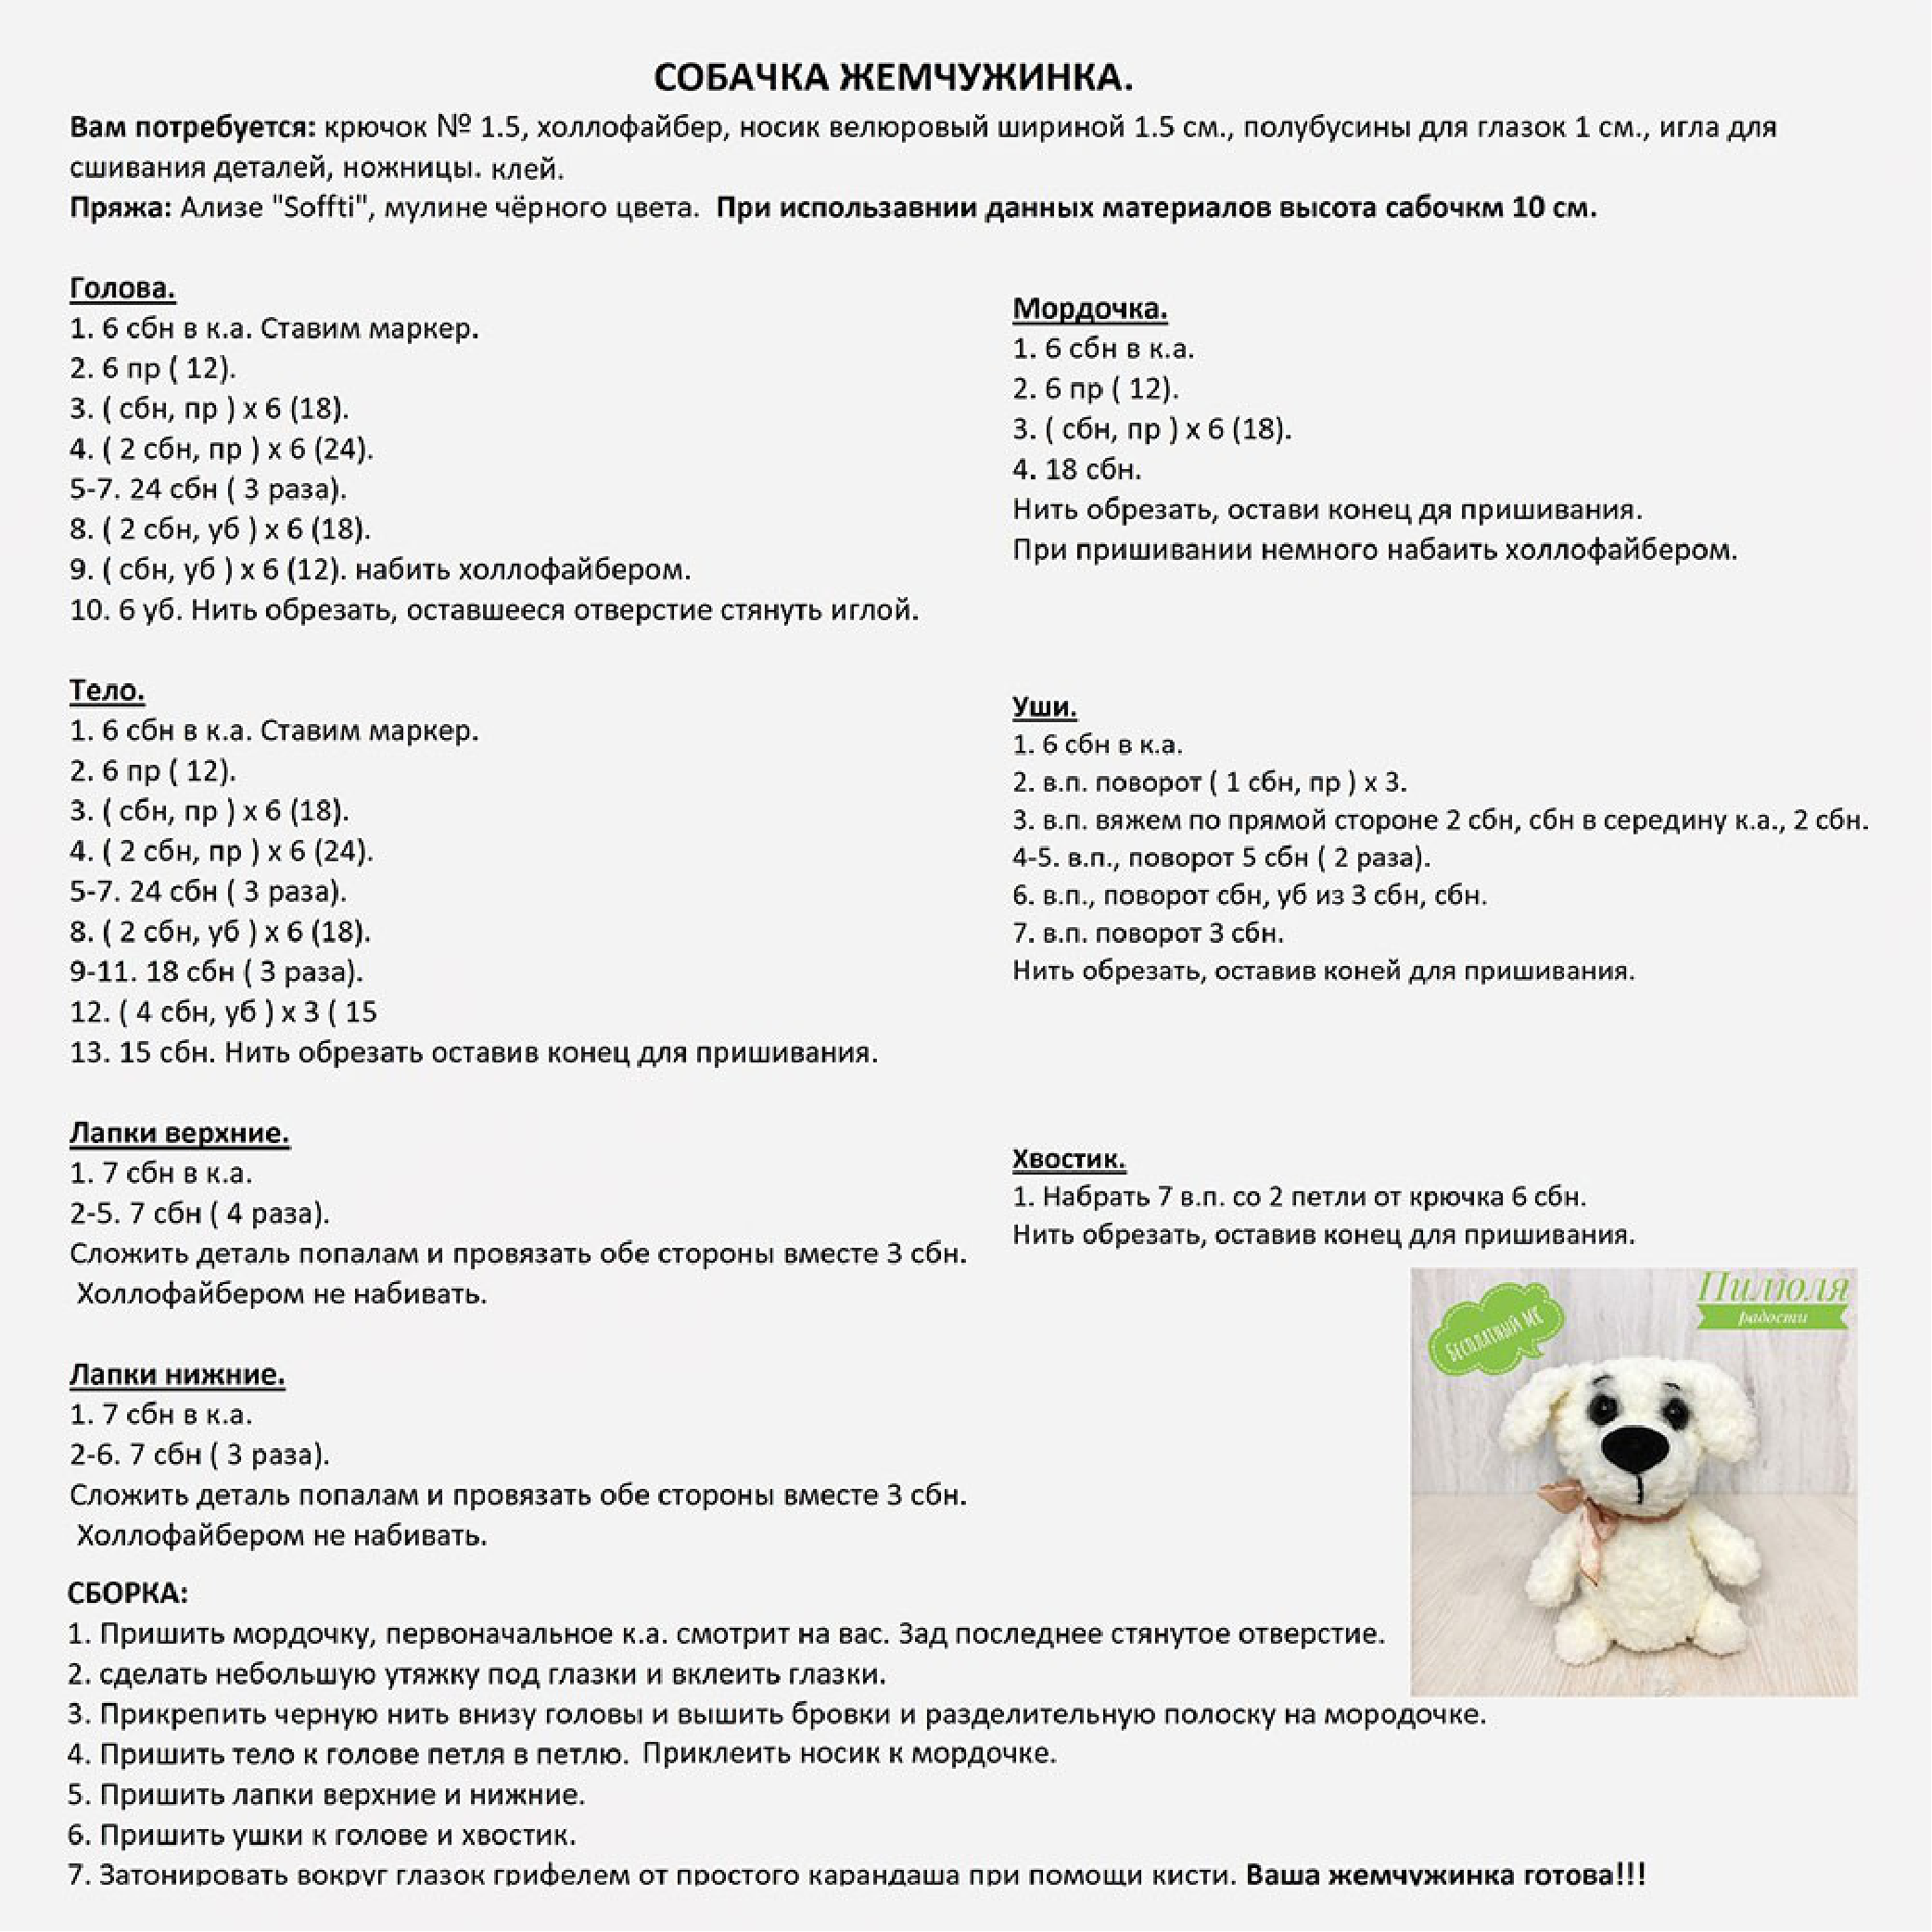
Pattern Instructions
Head
- 6 sc in MR (6)
- 6 inc (12)
- (1 sc, inc) x 6 (18)
- (2 sc, inc) x 6 (24)
- 5-7. 24 sc (24) – 3 rounds
- (2 sc, dec) x 6 (18)
- (1 sc, dec) x 6 (12)
- Stuff firmly with holofiber.
- 6 dec (6)
Cut yarn, leave a tail to pull the opening closed with a needle.
Body
- 6 sc in MR (6)
- 6 inc (12)
- (1 sc, inc) x 6 (18)
- (2 sc, inc) x 6 (24)
- 5-7. 24 sc (24) – 3 rounds
- (2 sc, dec) x 6 (18)
- 9-11. 18 sc (18) – 3 rounds
- (4 sc, dec) x 3 (15)
- 15 sc (15)
Cut yarn, leaving a long tail for sewing to the head.
Front Paws (Make 2)
- 7 sc in MR (7)
- 2-5. 7 sc (7) – 4 rounds
Do not stuff. Fold the piece in half and crochet the edges together with 3 sc. Fasten off.
Hind Paws (Make 2)
- 7 sc in MR (7)
- 2-6. 7 sc (7) – 5 rounds
Do not stuff. Fold the piece in half and crochet the edges together with 3 sc. Fasten off.
Muzzle
- 6 sc in MR (6)
- 6 inc (12)
- (1 sc, inc) x 6 (18)
- 18 sc (18)
Cut yarn, leaving an end for sewing. Stuff lightly during assembly.
Ears (Make 2)
- 6 sc in MR (6)
- Ch 1, turn: (1 sc, inc) x 3 (9)
- Ch 1, crochet along the straight flat side: 2 sc, 1 sc in the middle of the MR, 2 sc (5)
- 4-5. Ch 1, turn: 5 sc (5) – 2 rows
- 6. Ch 1, turn: 1 sc, dec of 3 stitches together, 1 sc (3)
- 7. Ch 1, turn: 3 sc (3)
Fasten off, leaving a tail for sewing.
Tail
- Chain 7.
- Starting from the 2nd chain from hook, crochet 6 sc back down the chain.
Fasten off, leaving a tail for sewing.
Assembly & Finishing
- Muzzle: Sew the muzzle onto the head. The magic ring of the muzzle should face forward.
- Sculpting: Use a needle and strong thread to make a slight cinch (indentation) where the eyes will be placed. Glue the semi-beads into the indentations.
- Details: Glue the velour nose to the muzzle. Using black embroidery floss, stitch a vertical line from the nose downward and add small eyebrows.
- Body: Sew the head to the body stitch by stitch, ensuring it is secure.
- Limbs: Sew the front paws to the sides of the upper body and the hind paws to the lower sides.
- Ears & Tail: Position the ears on the sides of the head and sew them in place. Attach the tail to the back of the body.
- Shading: For a professional touch, use a brush and some graphite from a regular pencil (or eyeshadow/pastels) to shade around the eye area.
Congratulations! Your Pearl Doggy is finished!