How to Crochet the Cutest 30-Minute Mini Plush Cat (Free Pattern!)
“`html
Adorable Mini Plush Cat: A Quick and Easy Free Crochet Pattern
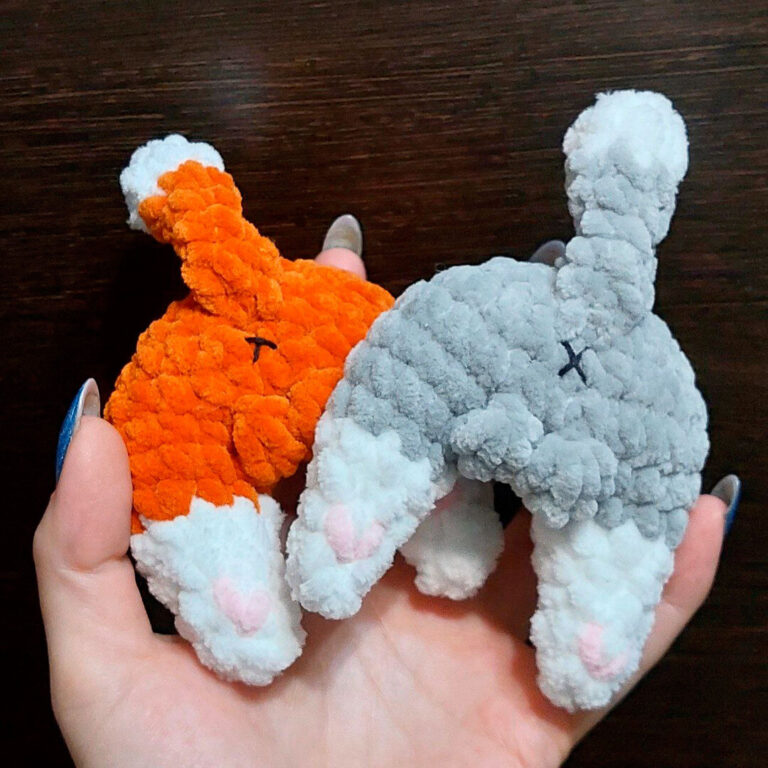
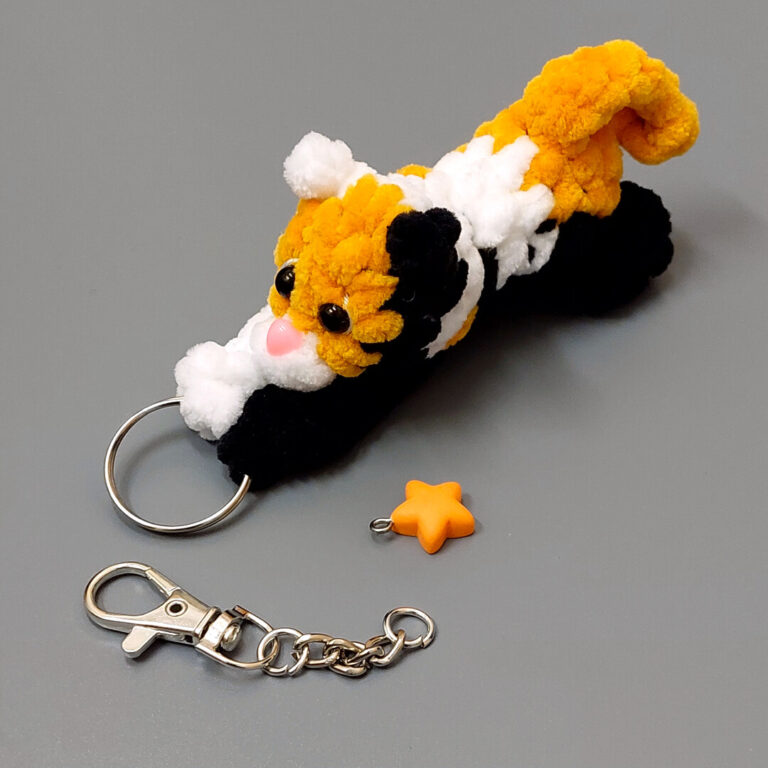
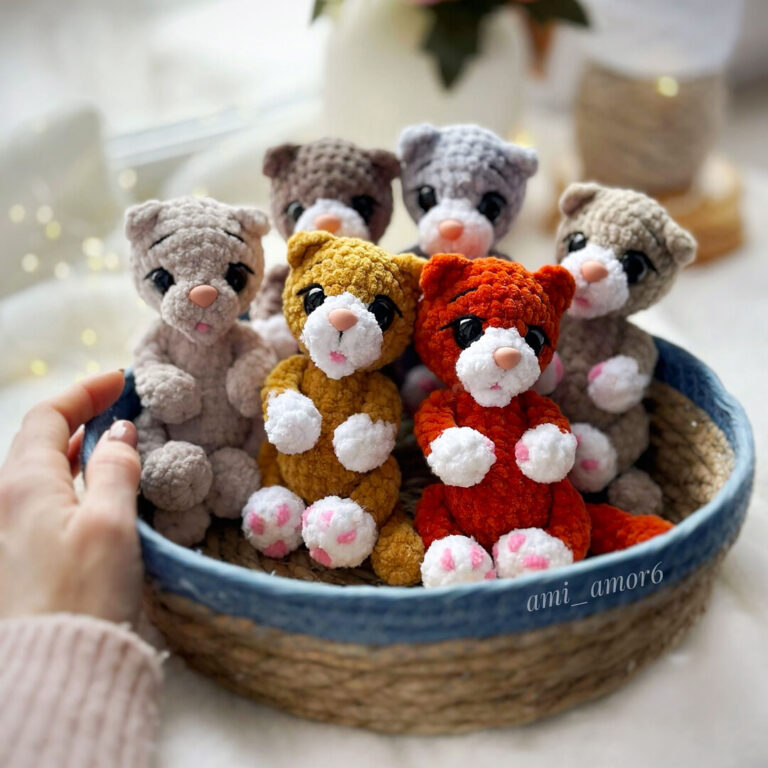
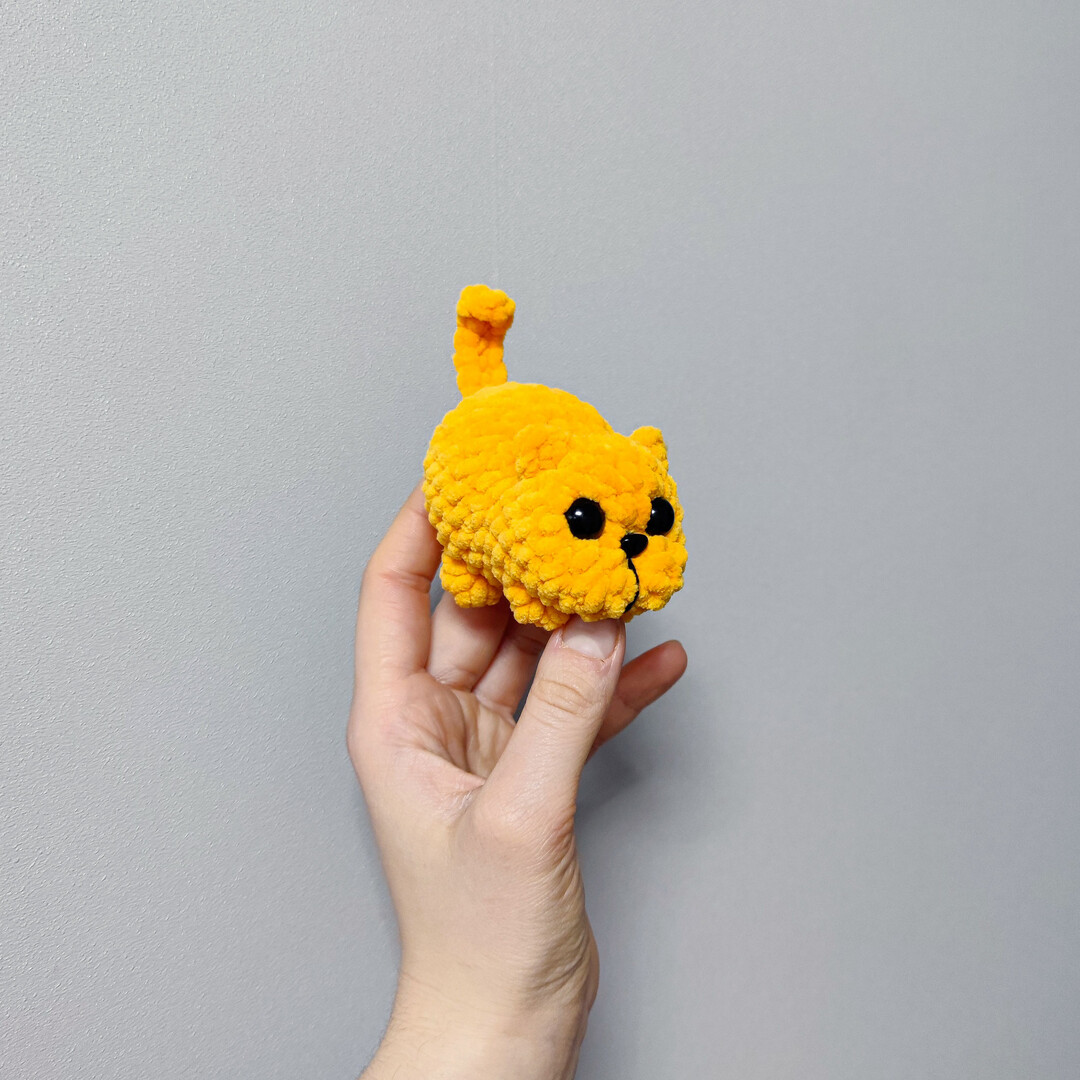
Looking for a quick, “scrap-buster” project that results in the cutest little companion? This mini plush cat (or “Kotik”) is the perfect project for amigurumi lovers. Using super bulky plush yarn, this little kitty works up in about 30 minutes and measures roughly 3 inches (8 cm) tall. It makes for a perfect keychain, desk buddy, or handmade gift.
Materials You’ll Need
- Yarn: Super Bulky Plush Yarn (Chenille style, e.g., 120m/100g weight)
- Hook: 4.0 mm (G) crochet hook
- Eyes: 10-12 mm safety eyes
- Nose: 7×9 mm plastic safety nose
- Stuffing: Polyester fiberfill
- Tools: Scissors, tapestry needle, and strong thread for face sculpting
Crochet Abbreviations (US Terms)
- MR: Magic Ring
- sc: Single crochet
- inc: Increase (2 sc in one stitch)
- dec: Decrease (sc 2 together)
- hdc: Half double crochet
- dc: Double crochet
- sl st: Slip stitch
- ch: Chain
- 4-dc Bobble: 4 double crochets in the same stitch, joined at the top to create a “puff” leg.
Step-by-Step Crochet Cat Pattern
Note: This pattern is worked in a continuous spiral from the head down to the body. Keep an eye on your symmetry; if your stitches shift, add or subtract a stitch to keep the legs and ears centered.
The Head & Body
Round 1: 8 sc in a Magic Ring (8)
Round 2: 8 inc (16)
Round 3: 6 sc, inc, 8 sc, inc (18)
Round 4: 18 sc (18)
Round 5 (Ears): 10 sc, Ear: [in the front loop only, work (1 sc, 1 dc, 1 sc) all in one stitch], 4 sc, Ear: [in the front loop only, work (1 sc, 1 dc, 1 sc) all in one stitch], 2 sc (18)
Round 6: 10 sc, 3 dec, 2 sc (15)
Tip: When working behind the ears, use the remaining back loops from the previous round. The decreases should be centered at the top/front.
Round 7 (Front Legs): 2 sc, Leg: (4-dc Bobble stitch), 2 sc, Leg: (4-dc Bobble stitch), 2 sc, (1 sc, inc) x 3, 1 sc (18)
Tip: The increases in this round should be centered on the back.
Eye Placement: Insert 10-12 mm safety eyes between Rounds 2 and 3, spaced about 5 stitches apart.
Round 8: 7 sc, (1 sc, inc) x 6 (24)
Note: The end of the round may shift forward by 1 stitch. Ensure increases stay centered on the back.
Rounds 9-11: 24 sc (24) – 3 rounds total.
Round 12 (Back Legs): 2 sc, Leg: (4-dc Bobble stitch), 3 sc, Leg: (4-dc Bobble stitch), 17 sc (24)
Round 13 (The Tail): (2 sc, dec) x 4, 1 sc, Tail: [Ch 8, starting in 3rd ch from hook: 1 hdc, then 5 sc back down the chain, sl st into the base stitch on the body], 1 sc, dec, 2 sc, dec (18)
Round 14: (1 sc, dec) x 6 (12)
Stuff the body firmly with fiberfill at this point.
Round 15: 6 dec (6)
Fasten off and weave in the ends.
Finishing Touches
1. Face Sculpting
To give your cat that chubby-cheeked look, use a strong thread of the same color (or dental floss). Insert the needle from the bottom of the head, come out near the inner corner of the eye, go across to the outer corner, and pull back down. Repeat for both eyes and pull slightly to indent them. This makes the muzzle pop out.
2. The Nose and Muzzle
Insert the 7×9 mm safety nose centered between the eyes. Use black thread to stitch a vertical line from the bottom of the nose downward to create a “split” lip look, further defining the cheeks.
3. Personalize
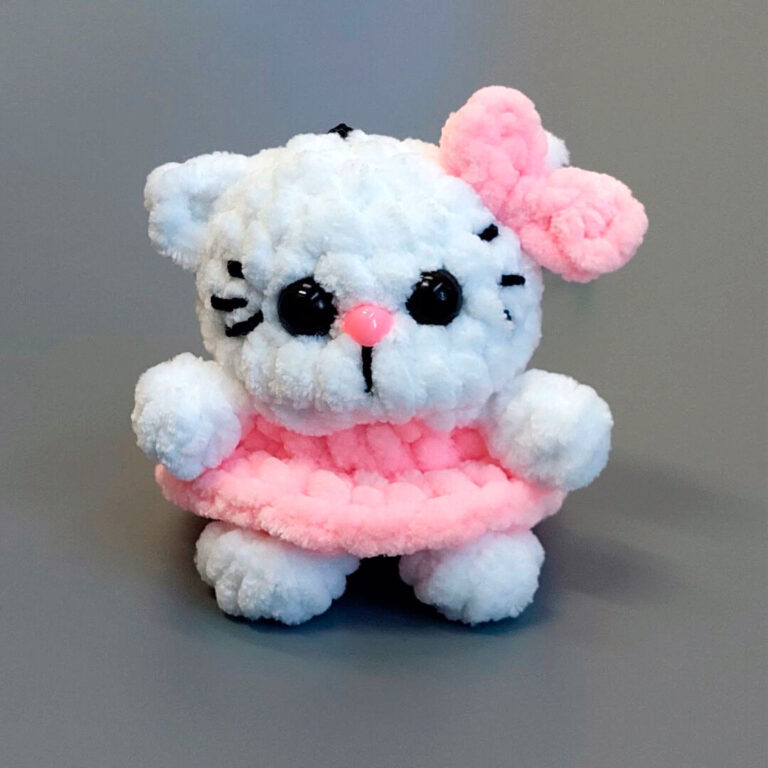
Feel free to add whiskers using thin embroidery thread or use different colored yarn for a calico or tuxedo cat look!
Your mini plush cat is now complete! These are incredibly addictive to make, so don’t be surprised if you end up with a whole litter by the end of the day.
“`